
Before creating Active Contract you need to create Calculation via Role Centrum Loans>Actions>New>Create New Loan. For more information use link How to create calculation. Then the process of transferring status from Calculation to Active Contract is simple:
Financing Card/Change Status
-
We are allowed to change status sequence following:
-
Calculation → Send Offer (changes status to Offer), Archive Contract (changes status to Archived)
-
Offer → Send to Approval (changes status to Waiting for Approval), Archive Contract (changes status to Archived)
-
Waiting for Approval → Approve Contract (changes status to Approved), Archive Contract (changes status to Archived)
-
Approved → Sign Contract (changes status to Signed), Archive Contract (changes status to Archived)
-
Signed → Activate Contract (changes status to Active), Archive Contract (changes status to Archived)
-
Active → Suspend Contract (changes status to Suspend), Early Termination of Contract (changes status to Closing)
-
Suspend → Activate Contract (changes status to Active), Early Termination of Contract (change status to Closing)
-
Closing → Settling of Contract (changes status to Settling), Archive Contract (changes status to Archived)
-
Settling → Archive Contract (changes status to Archived)
-
Archived → we are not allowed to changed status of archived contract
-
-
We are allowed to perform also reverse status changes
-
Closing → Activate Contract (changes status to Active)
-
Suspend → Activate Contract (changes status to Active)
-
Settling → Early Termination of Contract (changes status to Closing)
-
-
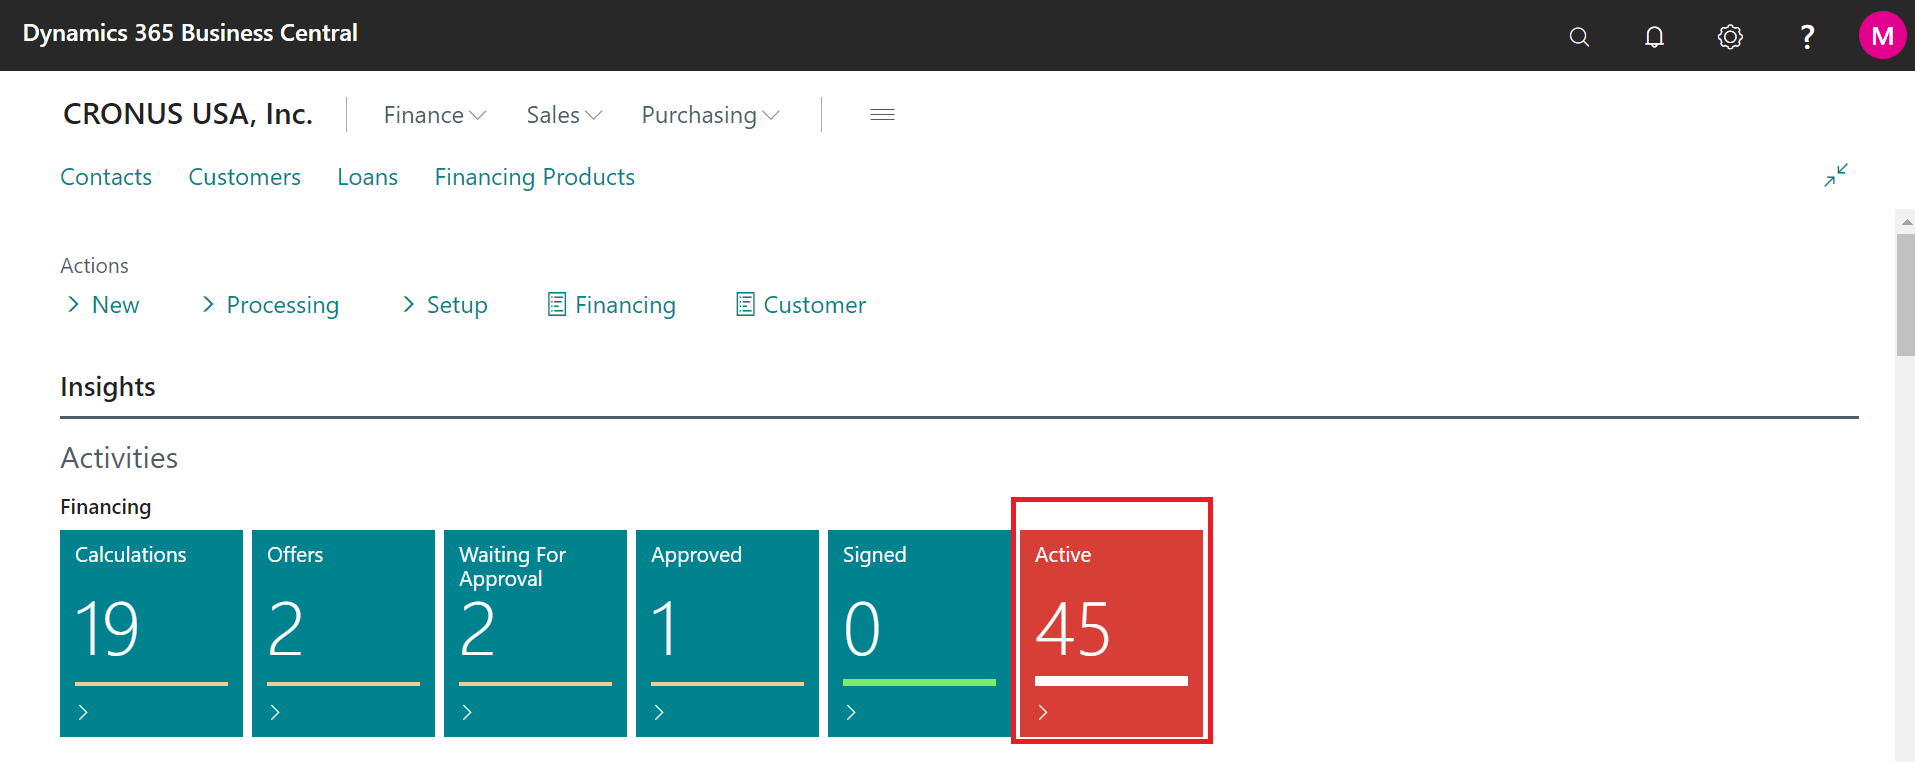
Basic contract statuses are displayed on Dashboard
-
Clicking on particular tile shows filtered contracts with this status, e.g. under tile Active can be found all active contracts.
-
Once you activate your contracts, you can post installments in Payments Calendar in two ways:
-
Manually
-
for separately posting use menu Home/Payment Calendar and click to the button Post.
-
Invoice is created and Payment Balance increases.
-
You can also cancel posted invoice.
-
-
Mass posting of installments
-
To post installments filtered by selected parameters use Processing>Financing Payment Posting>Post.
-
-
Follow up:
How to create calculation in general